Why a USB-C monitor may not work with every port
Trace the documented video path from laptop to monitor before buying another adapter.
Updated:
A matching plug is not a video guarantee
When a USB-C monitor fits a laptop connection but shows no image, first establish whether the selected port supports the intended video path. VESA explains that a port without DisplayPort-over-USB-C support will not provide that video signal. Physical fit alone is therefore insufficient evidence that the monitor arrangement is supported.
For a US buyer planning a desk setup, resolve this before ordering equipment. Record the laptop port, monitor input and connection hardware. This guide explains a documentation-first approach; it does not diagnose a specific defective device or claim that every blank display has the same cause.
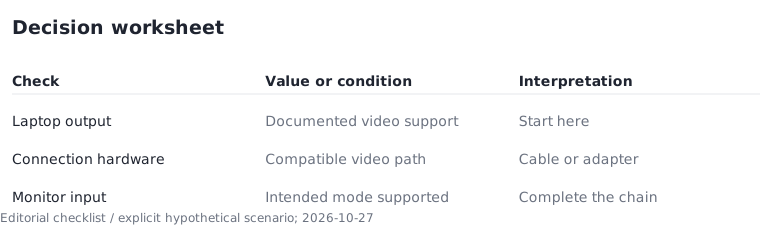
Draw the path in three boxes
Label the boxes laptop output, connection hardware and monitor input. Write the exact product information under each, then add the display mode you want to use. This makes unsupported assumptions visible before another cable is purchased. A general claim that a computer supports monitors may not describe every port or arrangement.
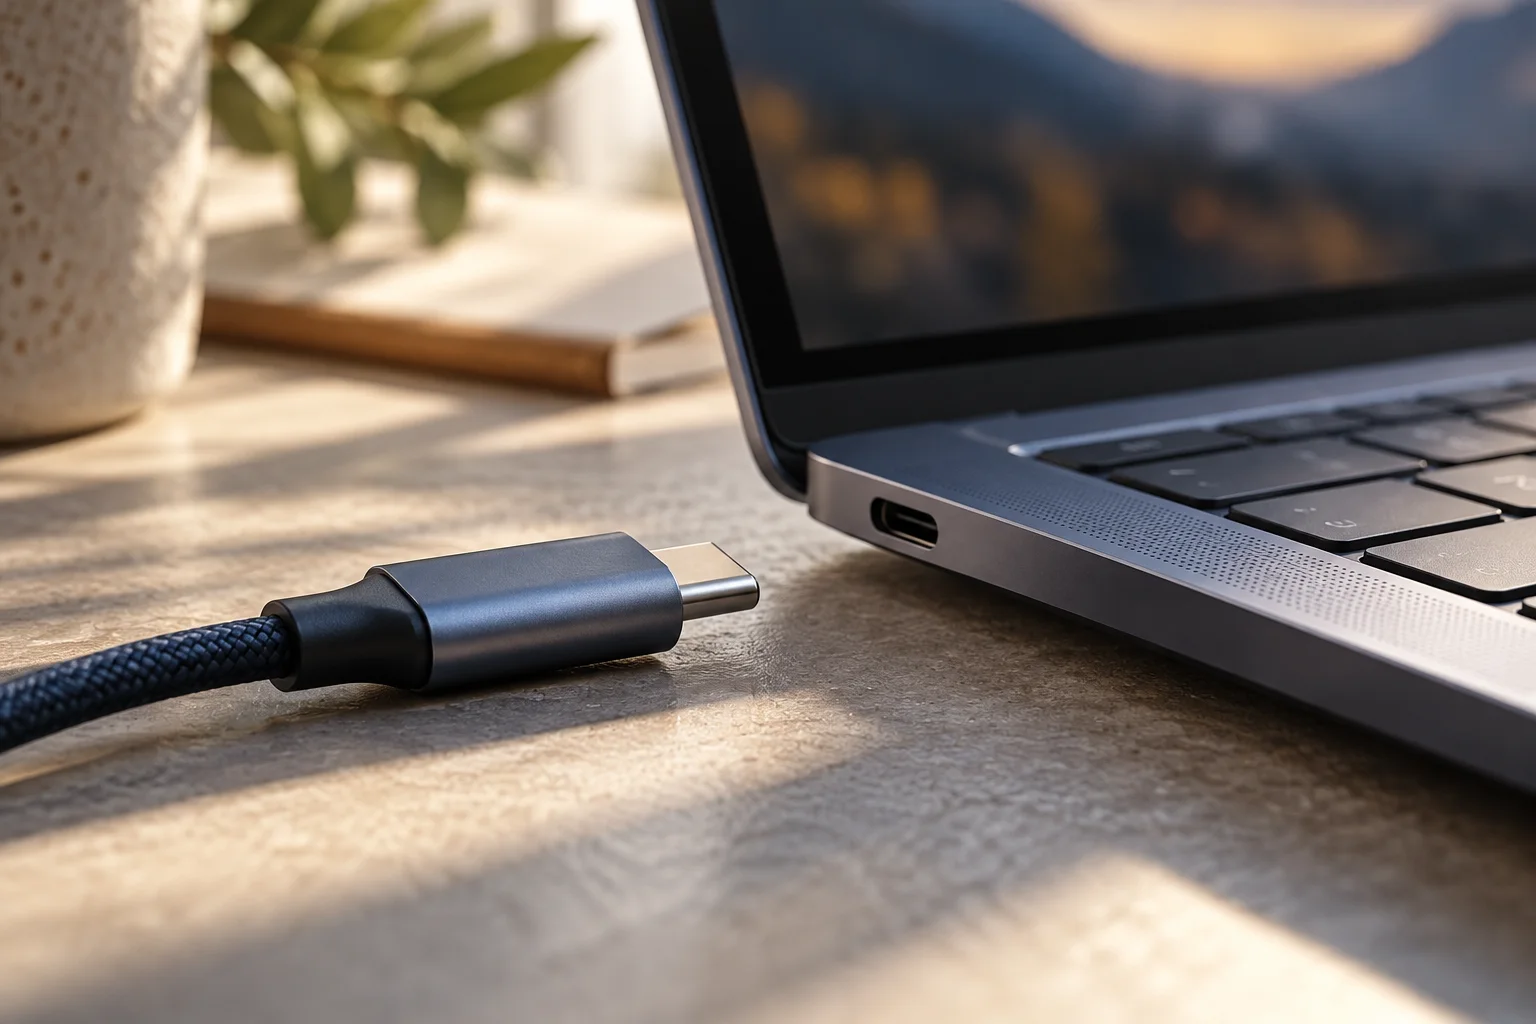
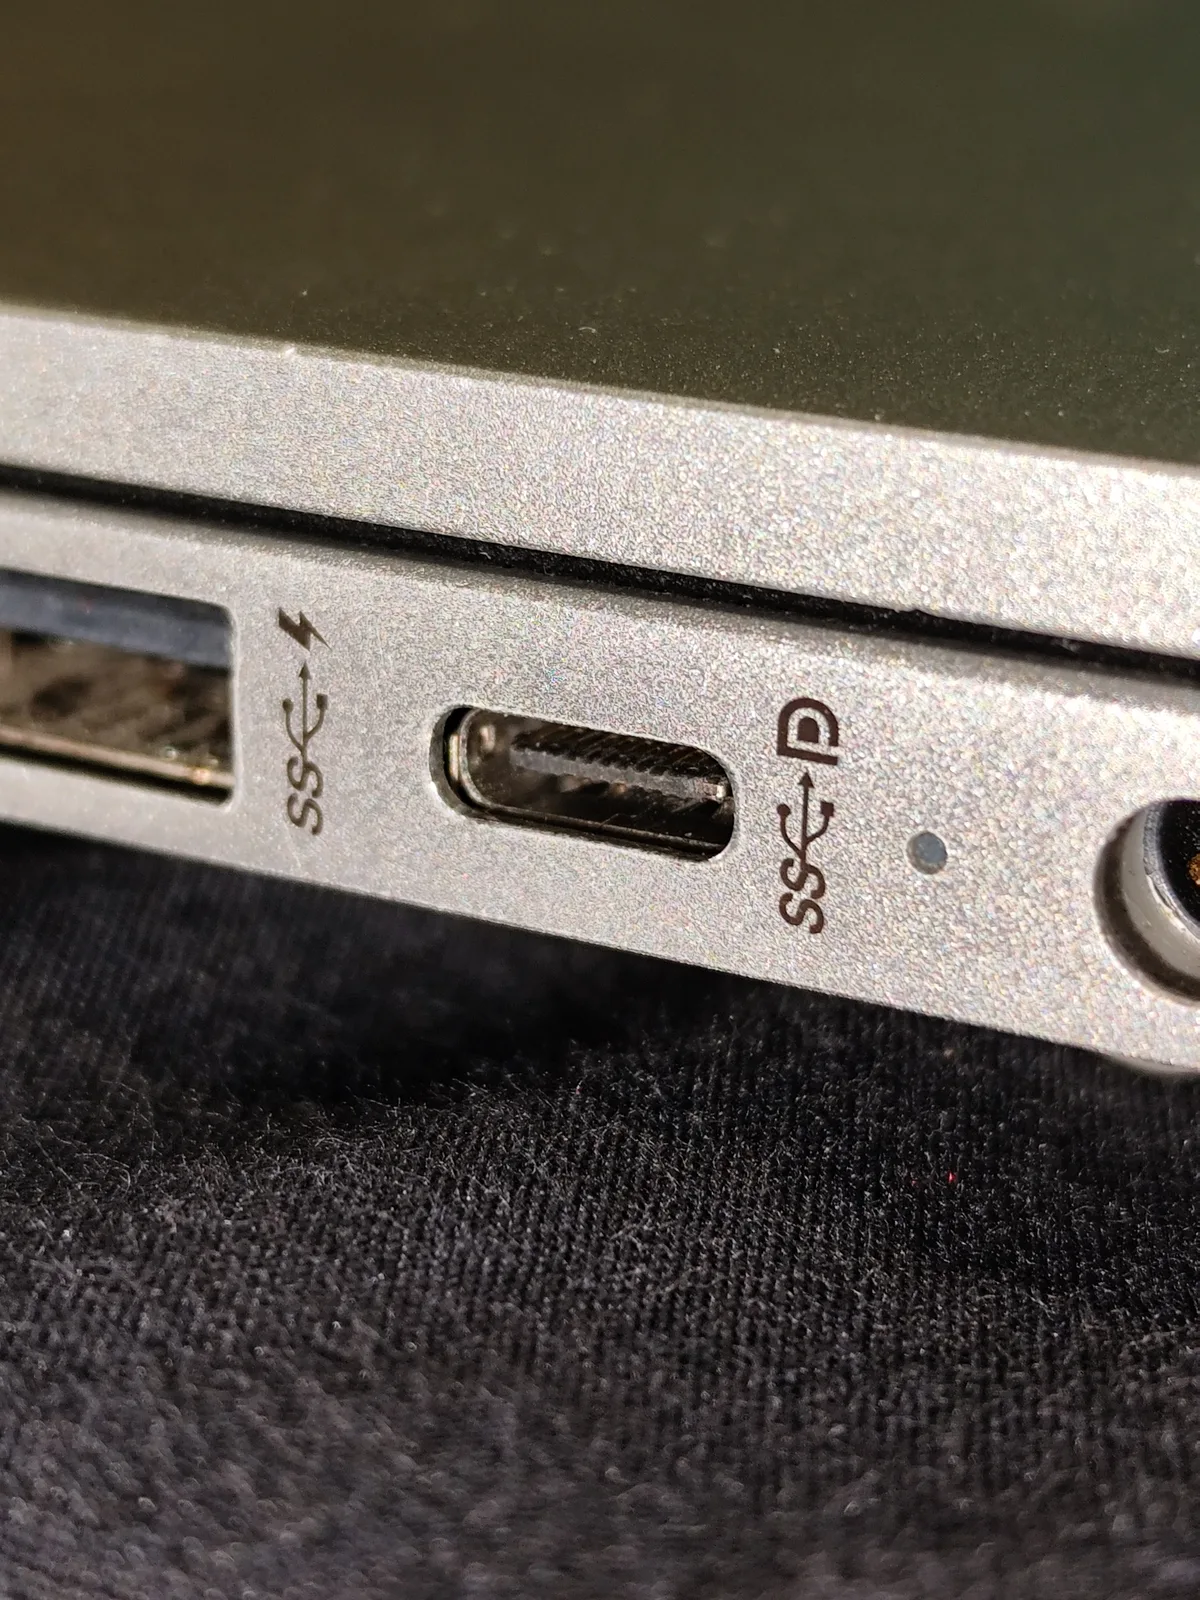
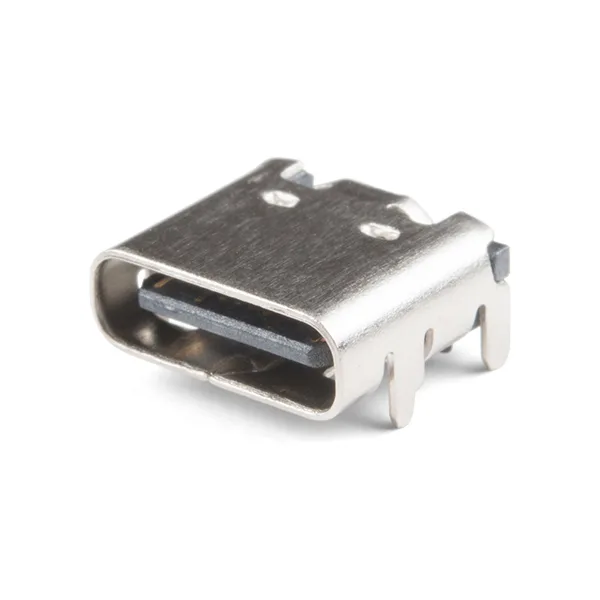
If a laptop has similar-looking ports, identify the documented video-capable connection rather than assuming identical features. The laptop-port photograph helps identify the physical interface. A separate receptacle shows the socket component. Neither image replaces the device specification; use them to understand the connection being discussed, then use documentation to establish its role.
Inspect what the accessory actually supports
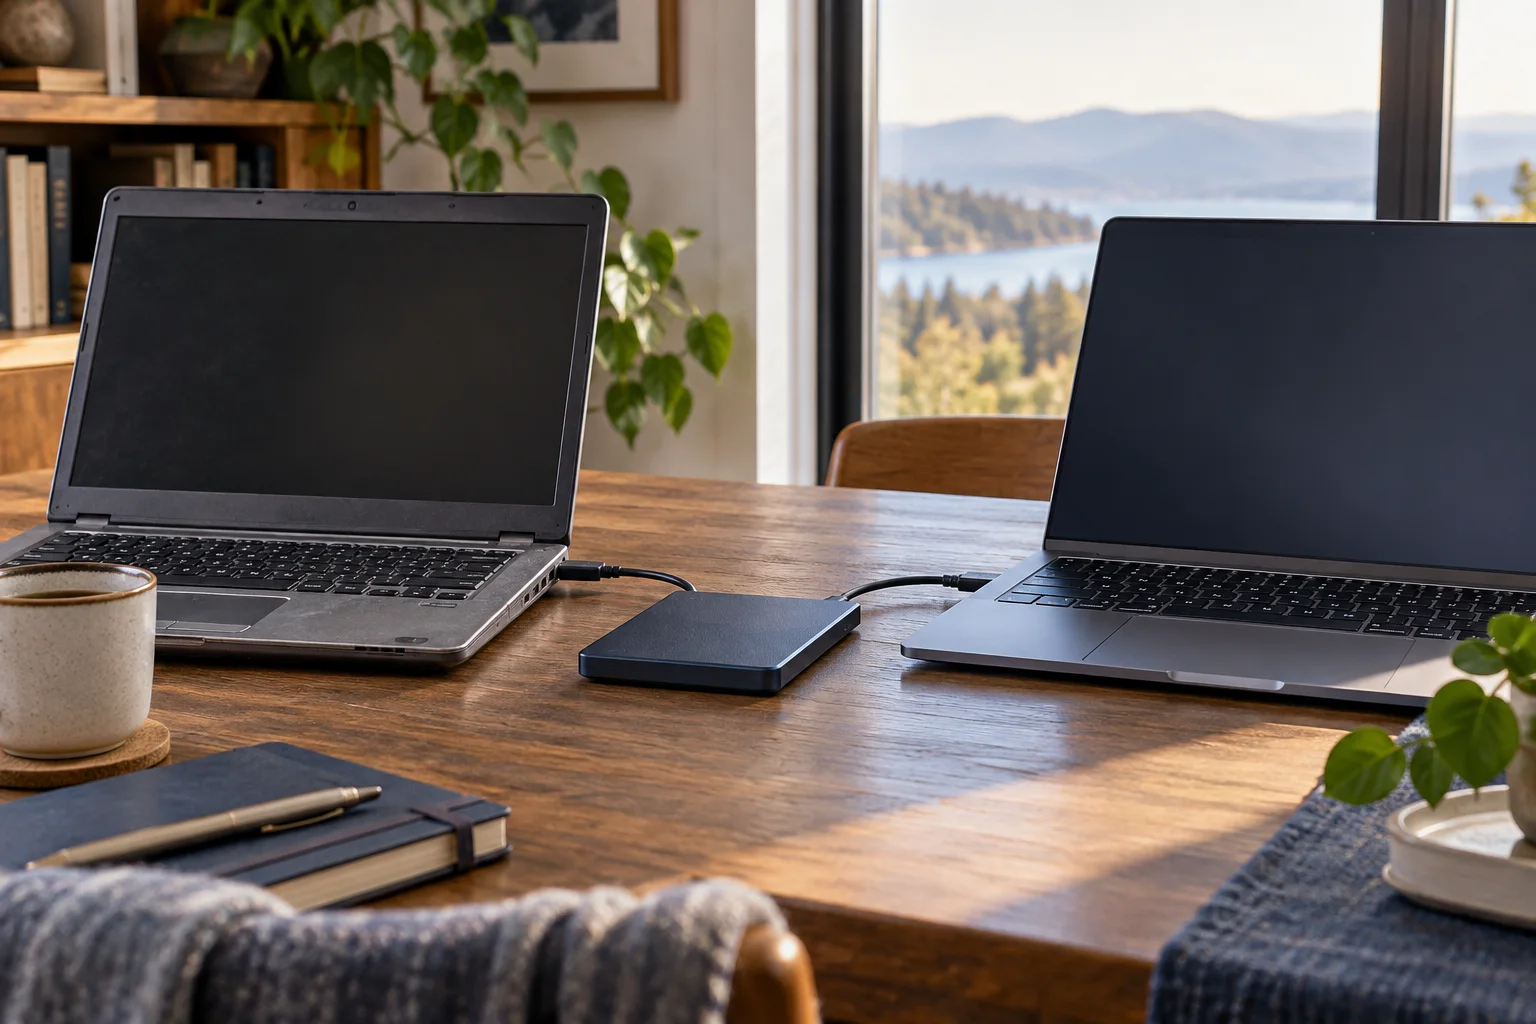
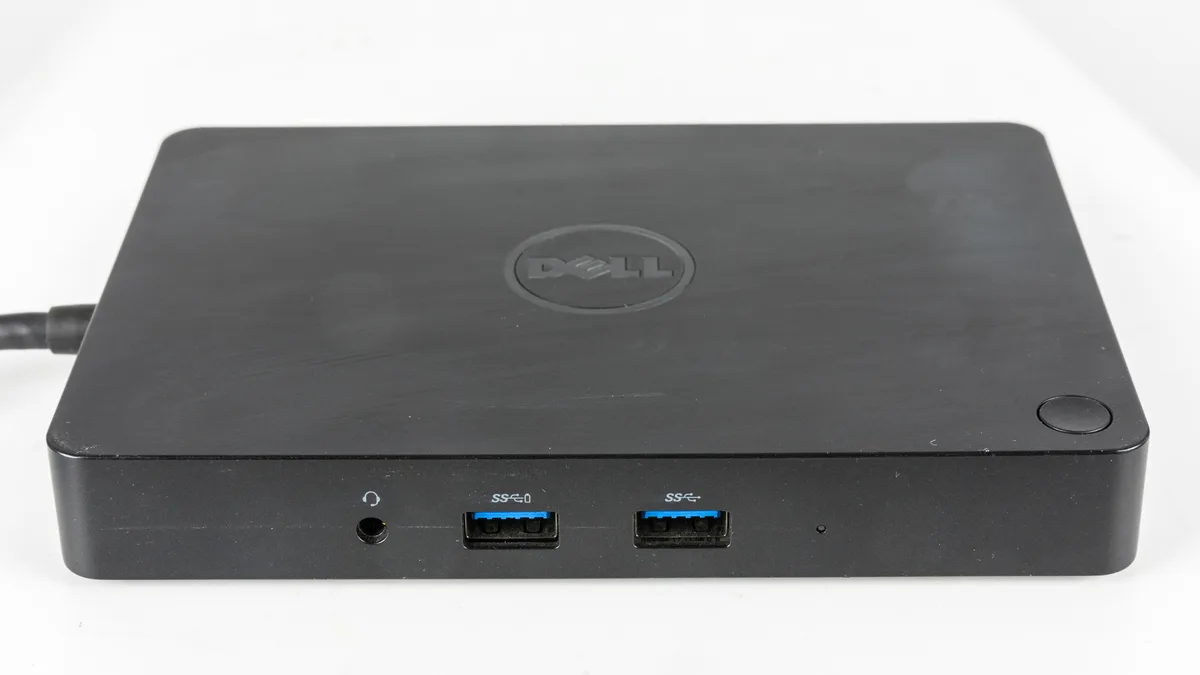
VESA distinguishes basic USB hub functionality from a dock arrangement carrying DisplayPort video. Store names can be imprecise, so inspect the supported functions rather than deciding from the word hub. The older dock photo illustrates a multi-connection accessory and is not a recommendation for a current monitor configuration.
Write the requirement explicitly: this arrangement must carry video to the selected display. Merely adding USB connections is a different requirement. If the accessory documentation does not establish video support, mark it unresolved. Buying more accessories cannot compensate for assuming a function that the chosen source port does not supply.
Simplify the test and the budget
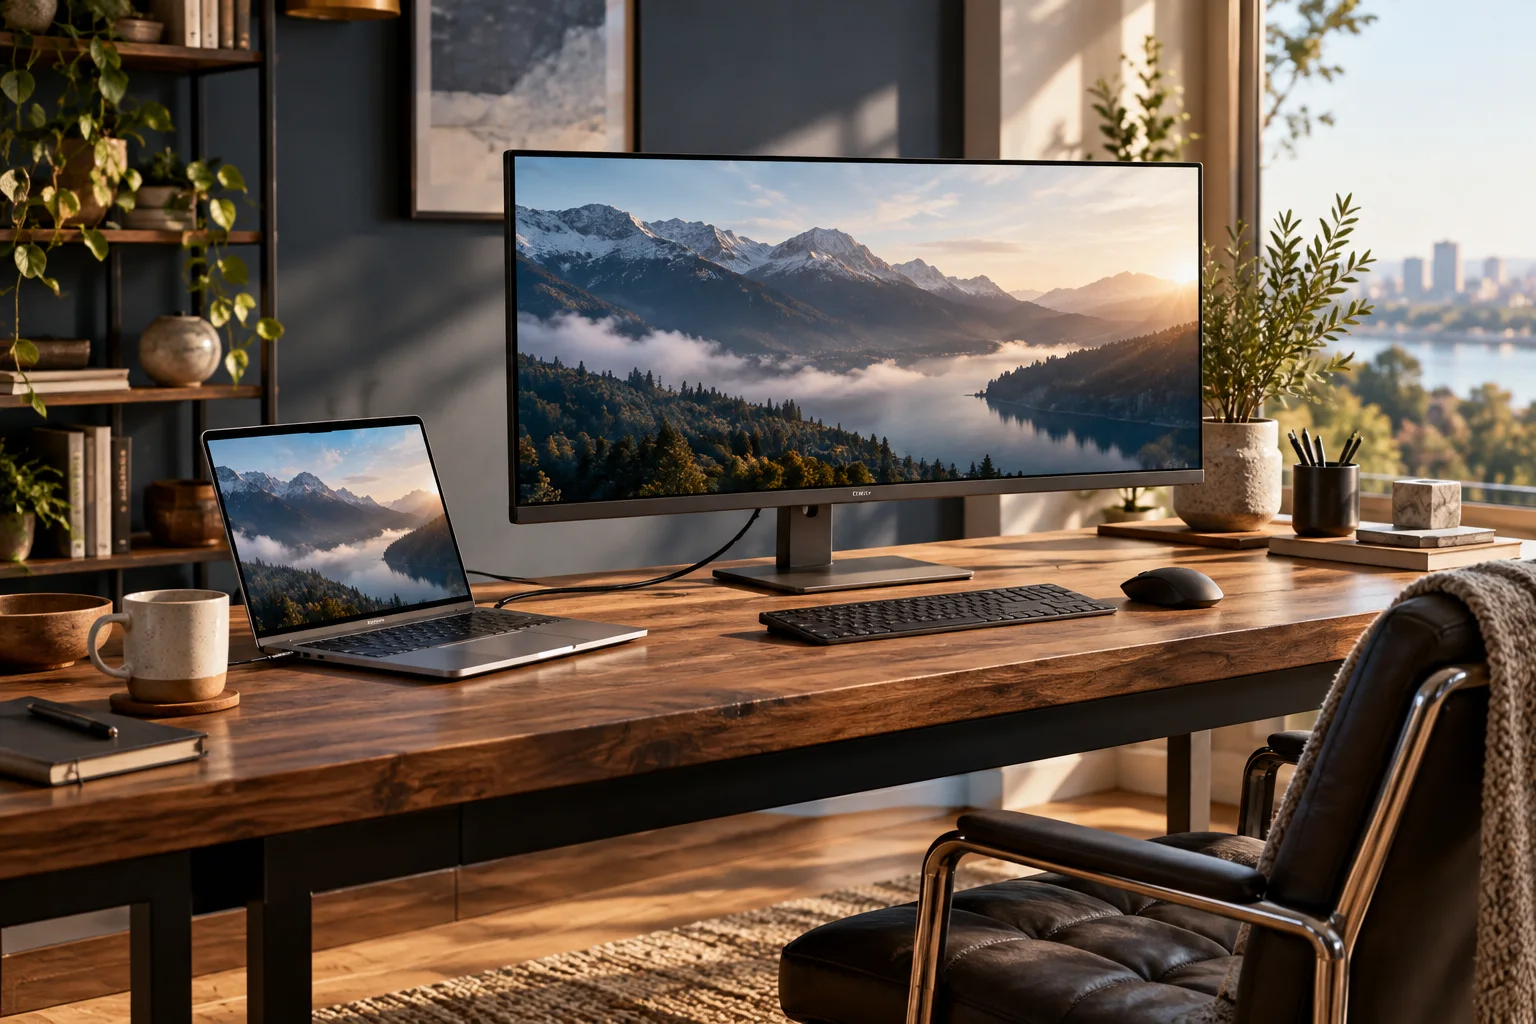
Once official documentation supports the arrangement, a direct connection can make testing easier than a chain of adapters. Follow each device's setup instructions, select the intended monitor input and use the documented port. Add other accessories after establishing a working baseline, keeping track of what changed.
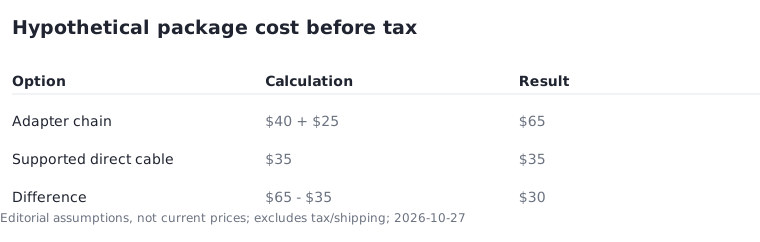
Suppose a hypothetical chain needs a $40 adapter and a $25 cable, totaling $65 before tax. A supported direct cable priced at $35 would reduce that subtotal by $30. These are assumptions rather than market quotes, and the cheaper cable is not automatically compatible. Establish its function first, then compare its price with the alternative.
Recognize when the question becomes troubleshooting
A setup that previously worked with exactly the same equipment is an important exception. That history changes the investigation. Selected input, power, cable condition, software changes or hardware faults may require attention. Do not conclude that a formerly working port necessarily lacks the design capability required for video.
For a new purchase, finish with a supported connection diagram and exact product references. For an existing desk, record the last known working arrangement and each subsequent test. Avoid replacing several components at once unless necessary, since identifying the meaningful change becomes harder. The desired outcome is a documented video path, not a collection of adapters purchased because their connectors looked suitable.